Exploring Star Stitch Crochet
- pearledwing
- Feb 17
- 4 min read

A step-by-step guide to making one of the most beautiful crochet stitches

The star stitch is my current favourite stitch for creating pretty texture and areas of interest in crochet.
However, it wasn’t always a perfect love affair.
The first time I came across Star stitch was in a vintage stitch dictionary. I happily made a piece of crochet fabric, hoping to create a rectangle which I could use to form the back of a Poldark-inspired jacket.
Instead of a rectangle, I ended up with a mangled parallelogram.


Fight the Lean!
What my ancient stitch dictionary had neglected to mention was that star stitch has a tendency to pull away from the end of the row. All those strands being gathered up and pulled together to one side naturally causes an issue.
I tried blocking my work into right angles but even the power of water wasn’t going to help me.
I bundled up my crooked sample and hid it at the back of the wardrobe for a couple of years.
A Missing Stitch?
A while later I found a star stitch tutorial video where an extra hdc stitch was added at the end of the first star row. I tried again and ended up making my first Celestial Sweater.
Guess what?
It still leant to the side! Maybe not as badly, but not good enough!
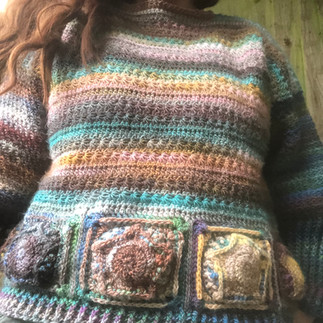
My first Celestial sweater (a prototype I still wear all the time as it’s cosy and I don’t mind spilling tea down it) twists around my body, even after a good block.


Everything in Moderation
I decided I would insert rows of more “stable”, trusted and true, crochet stitches.
I found adding extra rows of single crochet stitches and half double crochet stitches worked well and added quite a bit of stability.
Understanding the Star Stitch
Star stitches are worked over 2 rows, which together produce little asterisk stitches with “rays of light” shooting off in all directions.
The stars are built by pulling loops up through a series of different stitches. You work along a right angle, picking up loops vertically and horizontally along the row.
These loops are then worked together giving you a spread-out stitch, each loop clearly defined to create star “rays” or “legs”.
The second row is comprised of single crochets worked through the centre of the stars, finishing off the tops.

Tips
· Avoid yarn that easily splits or is made up of loose strands until you’re more experienced.
· Keep your tension on the looser side.
· Use a bigger hook than you normally would to keep your stitches looser.
· Use a yarn that has good stitch definition. This is a beautiful stitch, as long as you can see all the detail!
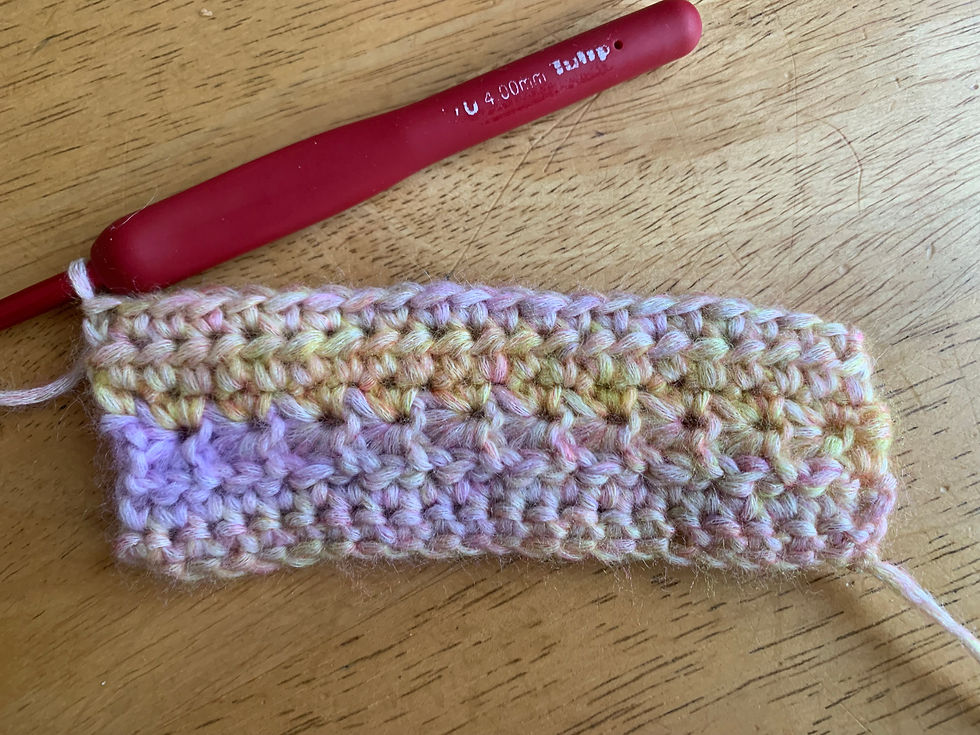
In the sample below I used Pebble Haze Print DK and a 4mm hook.
How to make the Star Stitch
Step 1: Make a Chain
Let’s start with a chain. You need to make a chain that’s a multiple of 2+1.
A chain of 22 (20+1+1 turning chain) will work well for a small practice swatch.

Step 2: Create a sturdy base for your star stitches
I like to start with a row or 2 of single crochets to give my star stitch piece a sturdy base to work on.
Row 1 (RS): Single crochet into the 2nd chain from the hook and single crochet in each chain, across your work, turn.
Row 2 (WS): Ch 1, single crochet across the row, turn.


Step 3: Star Bases
Row 3 (RS): We’re now going to work the first of the star rows.
First Star
Ch 3, pick up a loop through the 2nd chain from the hook and the 3rd chain from the hook.

You should now have 3 loops on your hook.
Pick up a loop through the first stitch (in the same stitch as the chain).
Pick up 2 more loops across the next 2 stitches.
You should now have 6 loops on your hook.

Yarn over and pull through all 6 loops.

Chain 1.

Second Star
You no longer have a starting chain to work through, so now you will work through the star.
Insert hook into ch 1 space just made and pull up a loop.

Insert hook through the 2 bottom “legs” or “rays” of the star and pull up a loop. 1 of these loops is at the front, and one is at the back, so it’s like working through the head of a normal stitch.


Insert hook through the same stitch that the bottom leg or ray of the star is going through, and pull up a loop.

Insert hook into the next stitch along the row and pull up a loop, and repeat in the next stitch.

You should now have 6 loops on your hook. Yarn over and pull through all loops on the hook.
Chain 1.

Repeat this second star across the row.
In the very last stitch (it will already have the last leg of the star stitch worked into it), add 1 hdc, turn.

Step 4: Star Tops
Row 4 (WS): Chain 1.
In this row, we will be working single crochet stitches into the ch 1 space (the centre space) of our star stitches.
Ignore the hdc and the top loops, or legs, of the star stitch. 2 sc into the ch 1 space of each star across your row.

Place 1 more sc into the top loops of the last star to maintain the stitch count of 2+1, turn.

Step 5: Add in rows of simpler stitches to maintain straight edges
Row 5 (RS): Ch1, hdc across row.

Turn, ch1, sc across row.
Step 6: Repeat!
Repeat steps 3-5 for pattern.

So remember…
An extra stitch at the end of the first row of stars helps fight the lean!
In my experience, star stitch rows are best used in moderation. Use rows of stitches like sc, hdc, dc in between rows of star stitches to keep your work even.
Avoid splitty yarn.
Pearled Wing Patterns Using Star Stitch...
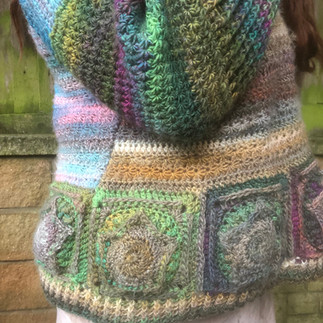
Celestial Sweater
This was my first star stitch pattern and also features a puffy star square design.


Celestial Summer Top
The Celestial Summer top features star stitch and star mesh.


Celestial Hat
The Celestial Hat features star stitch in the round and a central star motif.


Coming Soon - Aetherius
A simple boxy tee pattern featuring star stitch. This pattern will feature another method for stopping the leaning problem.


Comments